给安知鱼主题侧边栏个人卡片换背景

给安知鱼主题侧边栏个人卡片换背景
老刘博客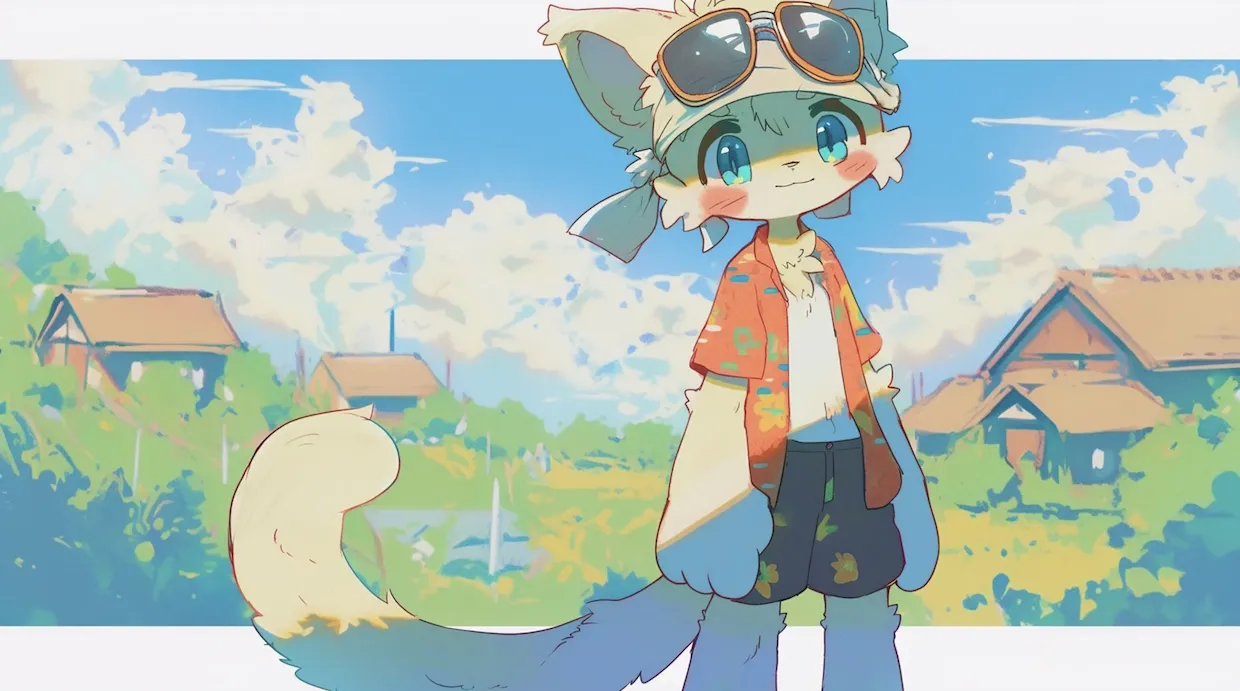
虽然安和鱼主题的个人信息卡片已经很是完美,但是有些小伙伴还是不安分,分享了一些个人信息卡美化的教程,我转载过来。
本教程基于安知鱼主题,介绍如何通过 CSS 美化侧边栏个人信息卡片,实现自定义背景图的效果。
1.添加 CSS 文件
我们需要为侧边栏的个人卡片进行样式定义。在博客 /source/ 目录中的 css 文件夹中,创建一个名为 coustom.css 的文件。
在新建的 custom.css 文件中添加如下代码:
1 | /* 侧边栏头像卡片 */ |
其中有一行代码,就是设定自定义背景图的地方
1 | background: url('自定义'); |
按照 Hexo 博客的生成方案,只有特定的文件夹可以在生成静态网站文件的过程中被保存下来,所以需要把背景图片放置到一个安全稳定的地方,我的意见是放置在主题文件目录中,**/source/img/** 文件夹下,所以设置背景图片地址的时候,需要写成
1 | background: url('/img/bg.png'); |
如果是外部链接,需要调整链接地址,但主要是下面的连接形式
1 | background: url('https://example.com/img/bg.png'); |
2.添加 CSS 文件
做好上面的文件之后,在安知鱼主题的配置文件中搜索 inject ,就会找到如下代码
1 | # Inject |
在 head 处进行自定义 css 的引入工作:
1 | - <link rel="stylesheet" href="/css/custom.css"> |
修改之后的文件内容为
1 | # Inject |
3.预览发布
在本地进行文件预览,运行 hexo server指令之后进行本地测试,会发现如下图的效果,就是有点儿丑陋,主要是背景图的问题。
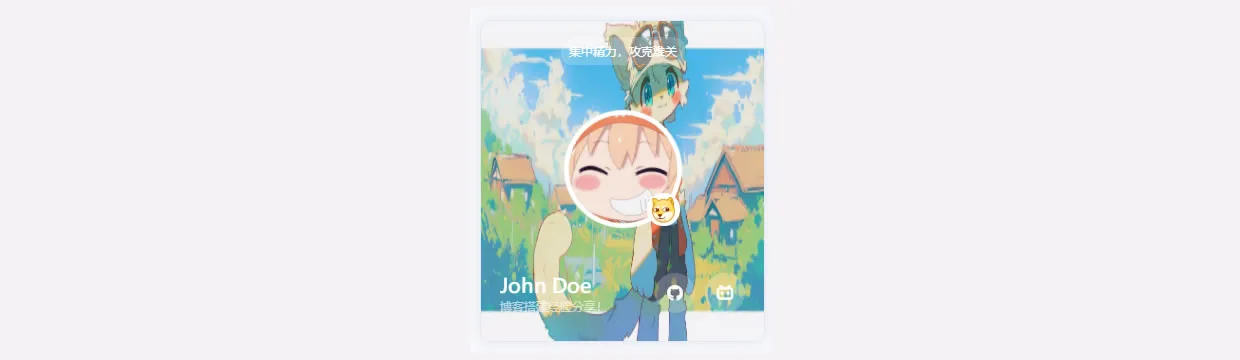
如果我们挑选到了自己喜欢的背景图,设置完成之后就可以进行发布,感谢大家来到老刘博客。


喜欢这篇文章的人也看了


评论
匿名评论隐私政策
✅ 你无需删除空行,直接评论以获取最佳展示效果


